

12 Ways to Photoshop Picture Processing Online
Once the image is downloaded, we have to work on it according to different needs, for example, cropping a certain area of the image, or adjusting the color of the image. Here are 12 ways to process images in Photoshop.
1 Uniform image size
The size of the pictures is not the same, some pictures are large, some pictures are small, and it will feel confusing to arrange them together. We need to crop these images of different sizes to unify them so that they look more orderly.
Before cropping the image, we first select an image with a relatively small cropping space as the standard, then select an image, align its upper left corner with the target image, hold down the Shift key while dragging the lower right corner of the image with the mouse, and drag the image to the same length as the target image. Then click the menu “Format” → “Crop”, drag the cropping border, when you see a red line on the screen, it means that you have reached the edge of the target picture, at this time, click the blank space with the mouse, you can crop the protruding place.
After doing the same for the other images, and then aligning the images, the whole picture is very orderly.
2 Zoom part of the image
In PPT, if some pictures do not have enough blank space, it will cause some difficulties to the layout. At this time, you can expand the white space by dragging the image, so that it is easier to typeset the image.
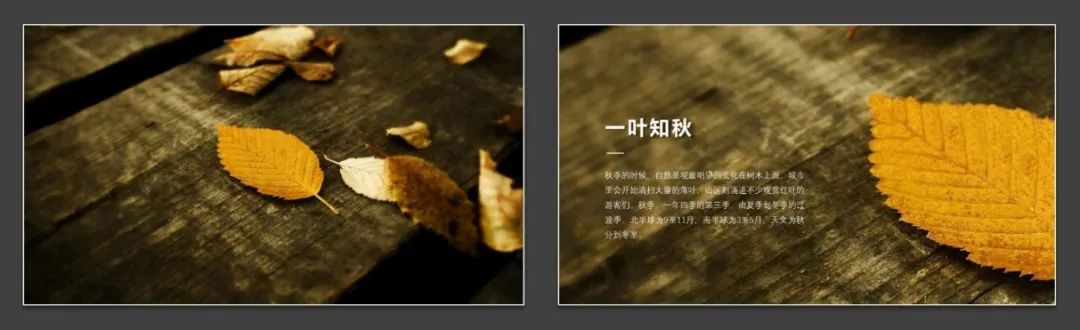
In the picture on the left, because the leaves just occupy the center of the whole layout, there are distracting elements in the picture, and the only place with white space is a little on the left. But the left side is too narrow to fit too much text. At this point, we can enlarge the image by dragging the bottom right corner of the image, so as to increase the left white space, so that we can fill in the large paragraph of text.
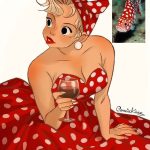
3 Cutouts
The original image is with a background, so we can’t simply change the background color to blend with the background color of the image. If we set the background again, this image will cause a lot of trouble for typography to use. At this time, you can cut out the main part from the background by cutting out the image, so that you can get rid of the restrictions of the background.
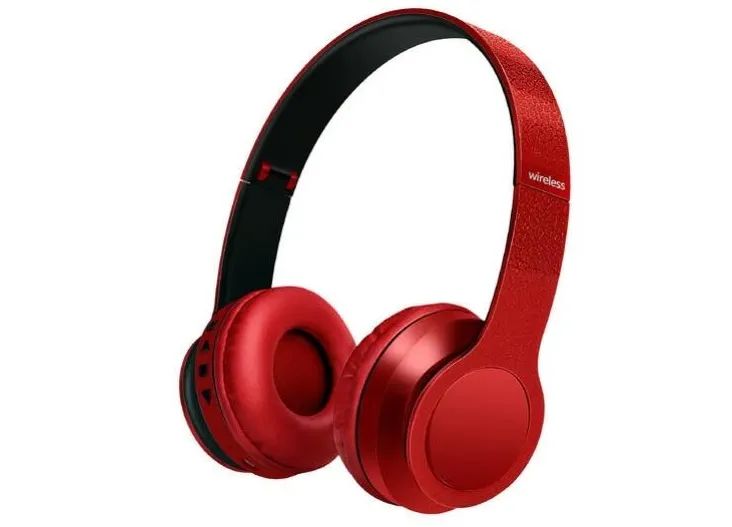
In the Office system, there is a built-in cropping tool, after selecting the picture, click the “Format” menu, and there is a delete background on the left. Select it to cut out the image. The purple area that appears in the image is the part that will be cut out, so choose the green mark and paint it in the place where we want to keep it, and choose the red mark where we don’t need to keep it, and paint it in the place where we don’t need to keep it. When we’re done processing, click on the blank space of the page and the graphic is cut out. Images that have been keyed out can be freely typeset.

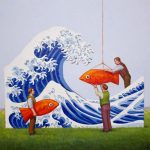
Let’s look at the second case. The picture shows a parrot, also trapped in the background. Once we’ve pulled it out of the background, we can make it look like the one on the right.
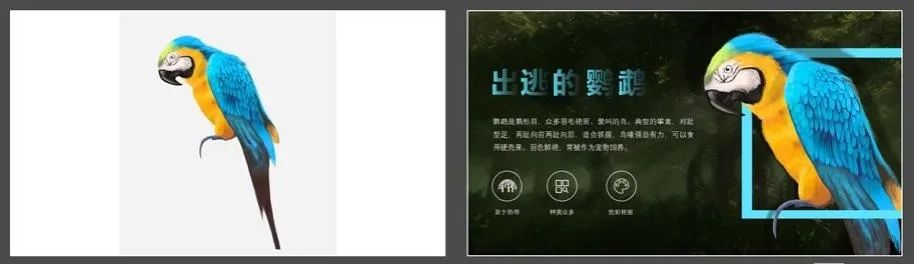
Intersect it through a rectangular frame, thus enhancing the layering of the picture, as if a parrot is flying out of the frame. One detail to note here is that the part where the parrot intersects with the rectangle is shaded. Because there will always be shadows on the overlapping parts, the effect of adding shadows is also to make the picture look more realistic.
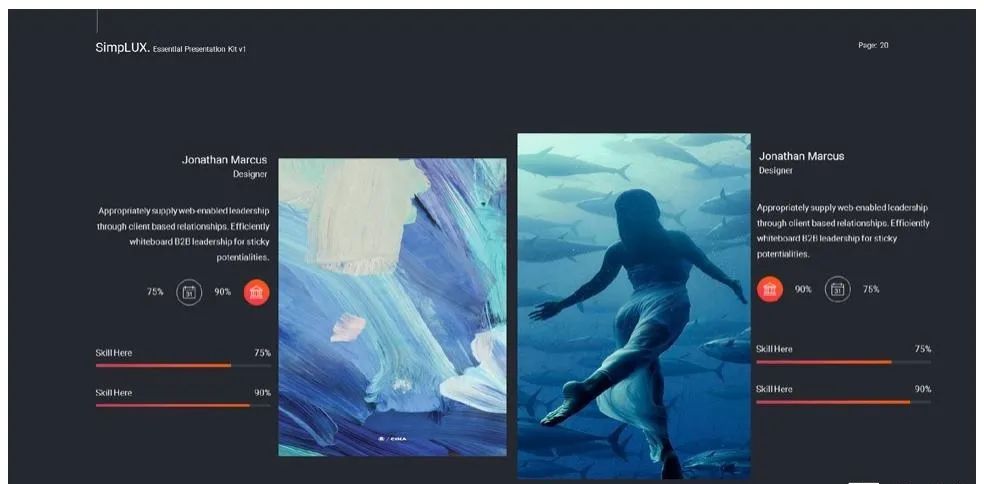
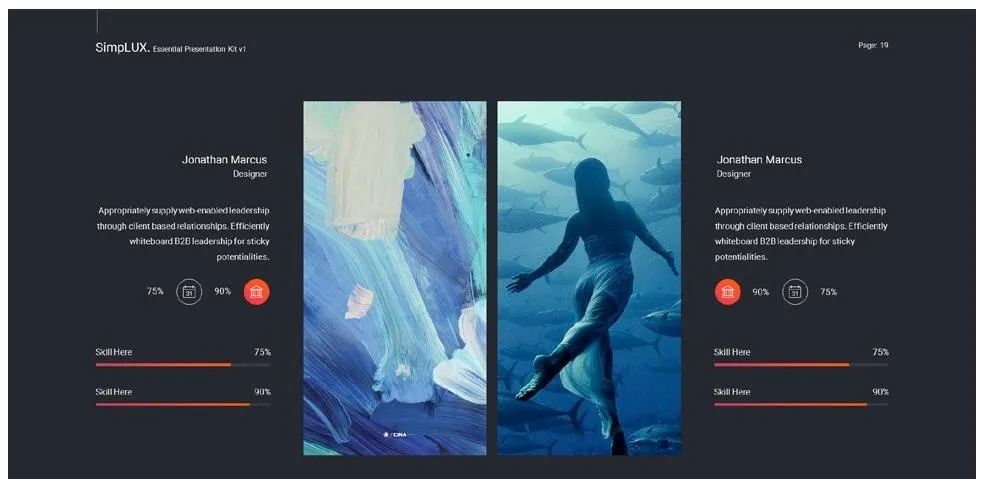
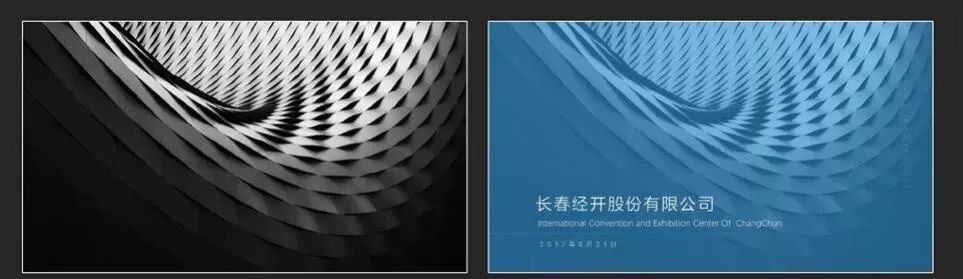
4 Fill the image into a shape
If the background of the slide is a huge rectangle, filling the picture as the background of the slide can add a lot of points to our PPT.
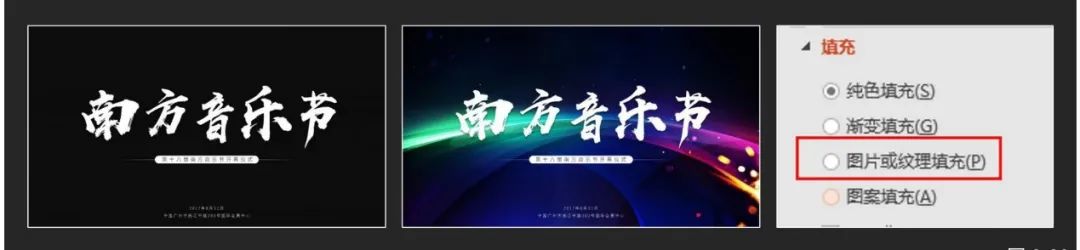
The picture on the left is a very ordinary page, but when you add a background, it makes it even more vibe.
How to set the background of the slideshow? Right-click on the blank space of the slide, select Set Background Format in the pop-up dialog box, and then select “Image or Texture Fill” in the window on the right, and then import the prepared picture, you can set the picture as the background of the slideshow.
Once we’ve set the image as the background of our slideshow, we can also populate it into the graphic.
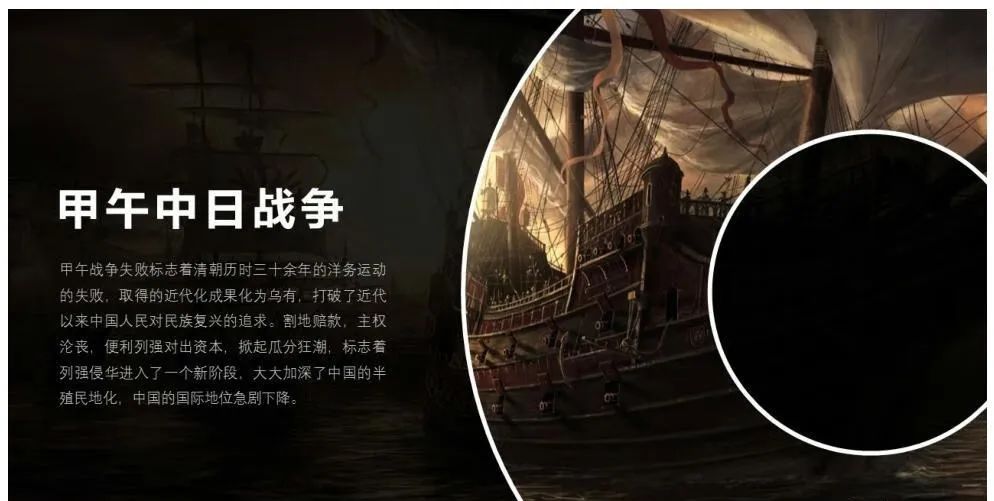
For example, the background of the slide in the image is filled with images. Insert a shape, then format the shape, and select the slide background fill where it is filled, and you will be able to fill the image in the background. At this point, as we move the position of the shape, the pattern of the fill will also change.
Alternatively, we can fill the image into triangles or parallelograms. There are three filling methods, and here are the differences between these three filling methods.
(1) Direct filling. Select a shape, right-click, select Format Shape, select Image or Texture Fill, and then select the image you want to fill in. However, the image filled in this way will be distorted. Although the picture can be adjusted in this place in the right window, the operation is very impersonal and it is difficult to adjust it to the right position. At this point, you can use the second method: crop fill.
(2) Cropping and filling. Crop fill is the process of cropping an image to the size of a shape and then filling it into the shape. Start by selecting the picture you want to fill, then click the Format menu and select Crop. Since the shape we want to fill in is round, and the crop tool can’t directly crop the image into a circle, you need to crop it into a square first.
There’s an aspect ratio here.
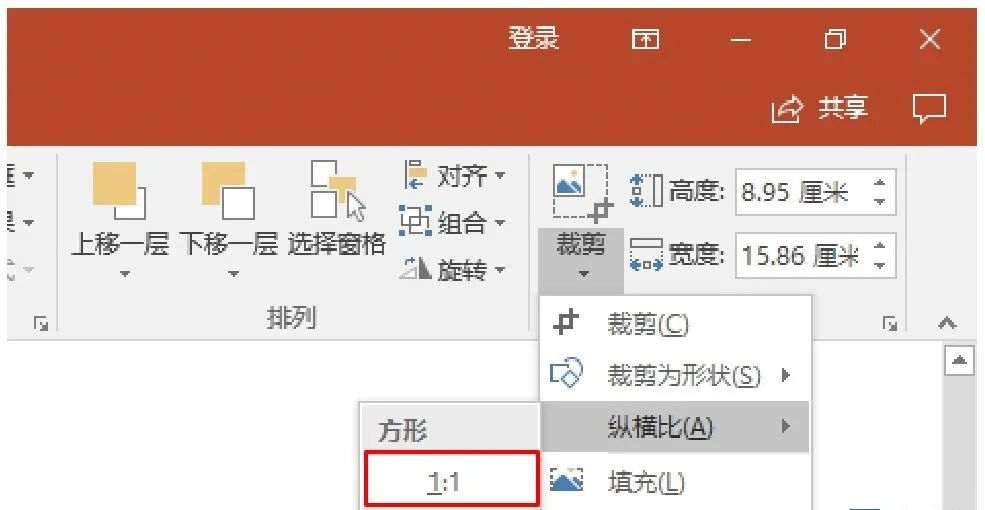
Choose a ratio of 1:1, so that the part of the box selection is a square. Adjust the position of the image, and click on the blank space to crop it, and the cropped image will be a square. After that, you can choose to crop it to an oval shape in the shape, and the cropped shape is a circle. Then copy the image, select the circle, and select the clipboard under “Image or Texture Fill” in “Format Shapes” and the image will fill in. This method of filling can be used to select the area to be filled, and it can ensure that the filled image will not be distorted, but the disadvantage is that the process is a little more complicated.
(3) Intersecting filling. The so-called intersection filling is to use the image and the shape to directly intersect, so as to achieve the effect of filling. Here’s how to do it: insert a shape and an image, then stack the shape on top of the image, and the part where the shape overlaps the image is the part we want to crop.
If we can’t see which part is overlapping, we can format the shape of the shape and adjust its transparency so that the overlapping part of the image can be seen clearly. After adjusting the position of the image and the shape, select the image first, then select the shape, and then select “Intersect” under “Merge Shapes” under “Format” in the “Drawing Tools”, and the image can be cropped. It’s quick and easy to use, and the cropped parts are under our control, and the image won’t be distorted. Just pay attention to one thing, you must choose the picture first, and then choose the shape, otherwise you will not be able to crop the picture.
Through comparison, it is found that cropping filling is better than direct filling, and intersecting filling is better than clipping filling. It is recommended that you try to use the latter two methods.
5 Fill the image into the grid
The method of filling images into a grid is suitable for situations where there are a lot of pictures and you don’t know how to typeset, so you can consider using a grid to gather all the images.
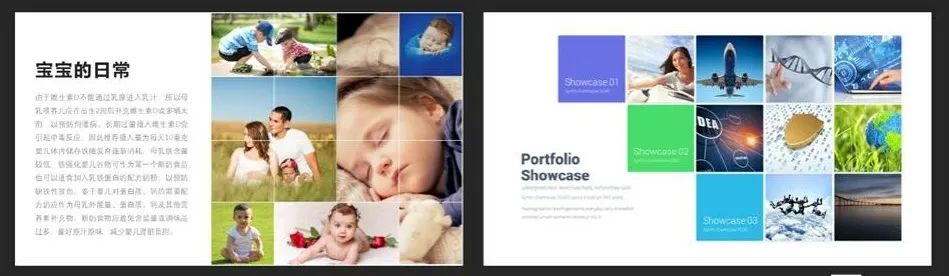
Here’s how to fill the image into the grid: first put the image into a staggered form, and then insert a table, usually choosing a table of equal proportions, here with 4 rows and 4 columns. After inserting the table, adjust the position of the table, and then click the wireframe to unify the line thickness of the table. Then copy the entire table and paste it, selecting “Enhanced Metafile” when pasting, so that the paste effect becomes an editable shape. Then resize the table, right-click again, select Ungroup twice, then select the whole image and copy, then click on the entire table, select the format, and select the clipboard fill method, so that the picture is filled. After that, delete the original image and move the table to it.
6 Fill the picture to the object
Filling images with objects, such as mobile phones and computers, are good containers for carrying pictures, and using these containers can also avoid being too monotonous or ugly because of only one image, and at the same time, it can also make the picture look better.
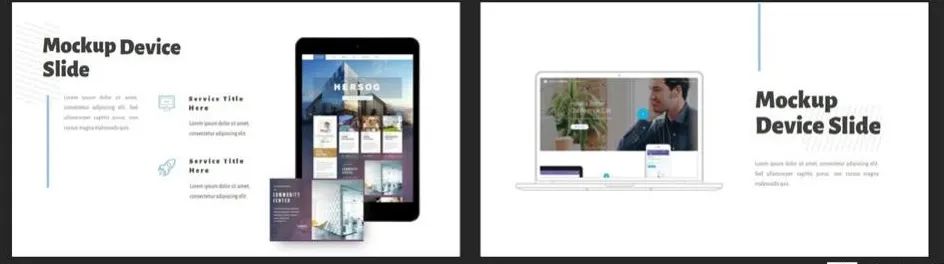
These materials can be searched on Qianku.com. Once downloaded, we just have to scale the image to the size of the screen. If there is any extra part, it can be cut out with the Clip tool.
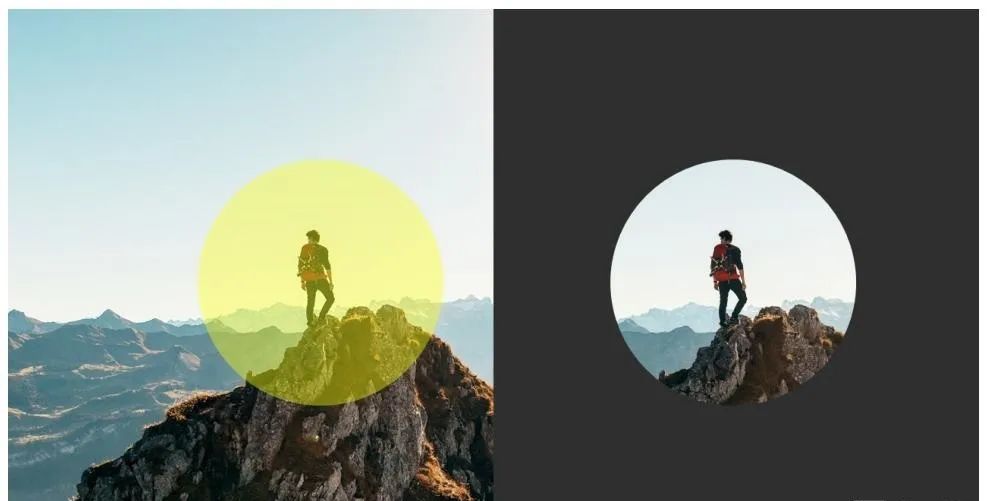
7 Add a layer mask
Adding a layer mask is all about adding a layer of mask to an image. A mask is actually a translucent rectangle with which we can reduce the brightness of the image or change the color of the image. For example, the PPT shown in the picture has a particularly high brightness, resulting in the text on the picture not being able to read clearly.
At this point, you can insert a mask to reduce the brightness of the image and make the text appear more clearly.
The mask is also very simple: insert a rectangle, resize it to the image, and overlay it on top of the image, then select black, remove the border, and then adjust its transparency at the shape formatting to make the image visible. The amount of transparency is adjusted according to the actual situation of the image. When it’s appropriate, select the format under the drawing tools and click the next layer on the right arrangement to sandwich the mask between the image and the text. After this adjustment, the brightness of the image will be reduced and the text will be displayed clearly.

In addition to this, we can also use masks to adjust the color of the picture. For example, the image shown on the left in the picture feels very cold.
We can add a blue mask to it to change its hue and make it softer. Once you’ve added text, it’s a nice cover.
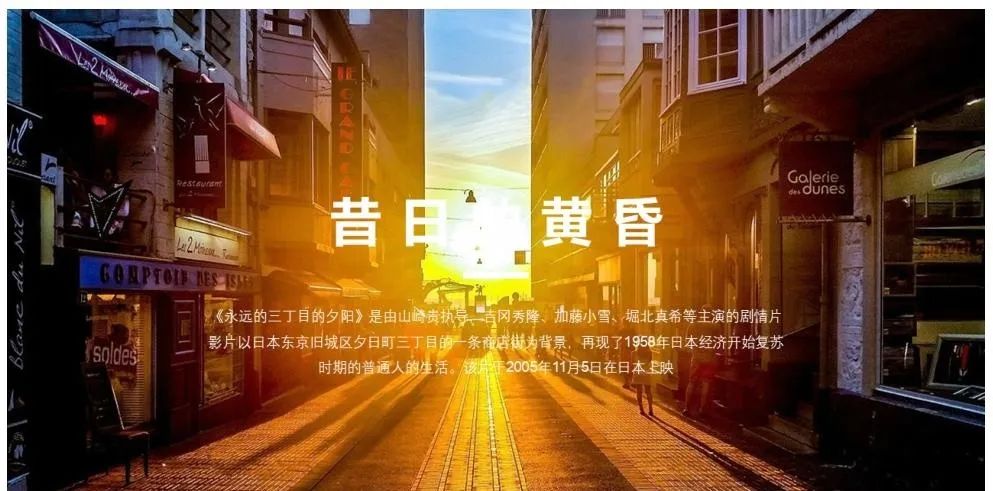
8 Bokeh the image as a background
When we need to display the image in full screen, but the size of the image is not appropriate, if we forcibly pull the image to full screen size, the image will be distorted. This can be achieved by bokehing the image as a background. Let’s start by inserting another image related to it, in this case a banner poster from the movie.
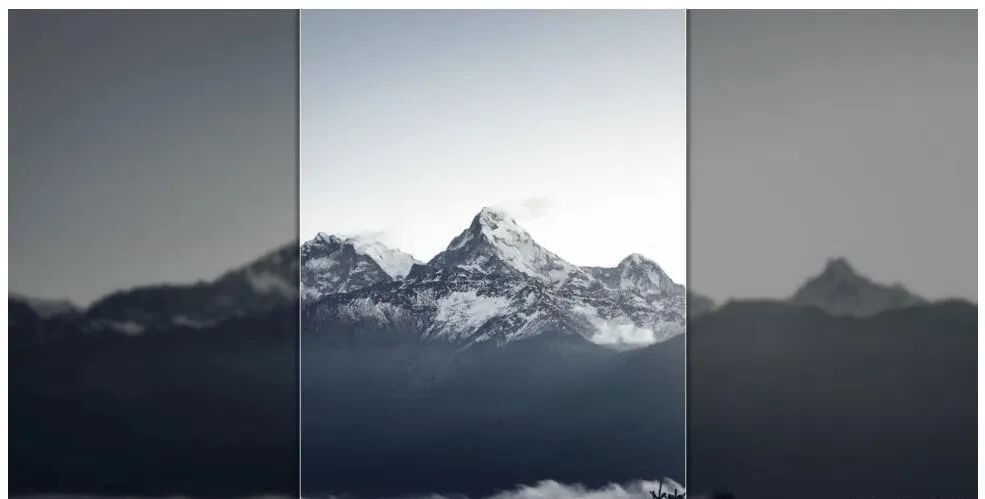
After selecting the image, you can blur the image by selecting the blur of the artistic effect under the image format tool. Once blurred, you can use it as a background, and then put a small image on it so that it won’t look weird. If you feel that the background is a little bright, you can also add a translucent black mask on top of it.
This practice is also often used in television program promotions. The reason why the background is blurred is to create a contrast between the virtual and the real. If the background is also solid, the picture will not be focused. And one is virtual, the other is real, and the picture has a focus.
9 Add a border to the picture
When the size of the image is not uniform, we can add a border to the image to make it look more uniform visually.
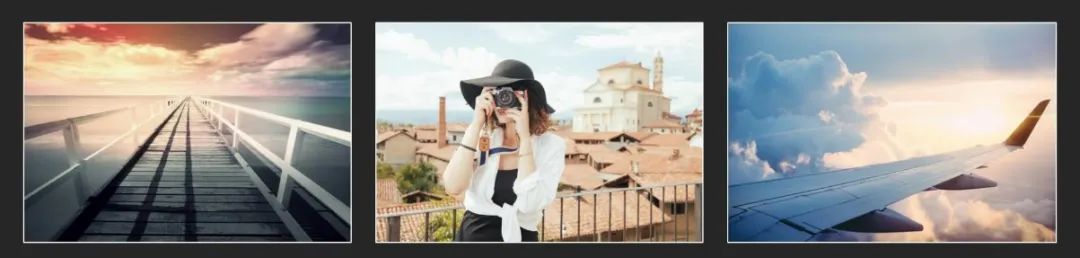
You can set it by selecting one of the images, then clicking on the image format settings to select the image border. Generally speaking, we will choose white and then adjust the thickness of the border line. The border of the picture is only used as a decoration, and it should not be set too thick, otherwise it will be ugly.
10 Choose the right background for your image
If the colors used in the PPT conflict with the colors of the pictures, placing the pictures on the background of these colors will be very bad. For example, orange, light green, light blue, put the picture on these colors, like a patch on a dress, it is very ugly because it does not blend with the background. We can choose a white or black background, or an apple-style gradient background. And the most comfortable is dark gray, which blends well with no matter what style of picture it is paired with.
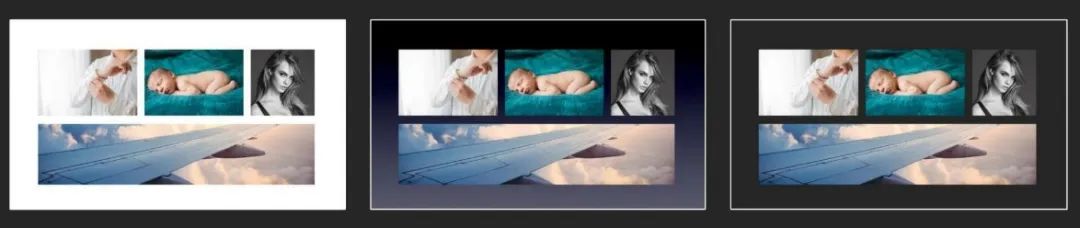
Through this example, we must be careful when choosing backgrounds for these realistic images, otherwise the results will be very bad. It is recommended that you try to use white, black, and dark gray colors. If you come across some photos with particularly poor shooting results, then the white background is your savior, and through a large area of white space, you can hide the ugliness of some pictures.
11 Remove the logo from the image
In the process of making PPT, sometimes it is inevitable to use pictures with logos, and then the logos on these pictures can be removed by some means. Here are three ways to do this.
The first method is the cropping method. If the logo of the image is at the edge of the image, you can use the cropping tool to crop the logo part.
The second method is the masking method. If the logo in the image is in a solid color, you can insert a color block as large as the logo, and then fill the color of the color block with the color of the background of the image to cover the logo.
The third method is the PS method. Open the Meitu App, upload the image you want to process, click the erase pen, and paint the logo in the position.
12 Crop and resize the portrait
The picture is a PPT of the company’s employees, and it can be seen from the picture that each employee’s avatar face is of different sizes. In fact, this situation often appears in the PPT that everyone does, and such pictures are not visually uniform, so that the pictures need to be cropped so that each employee’s face size is consistent.
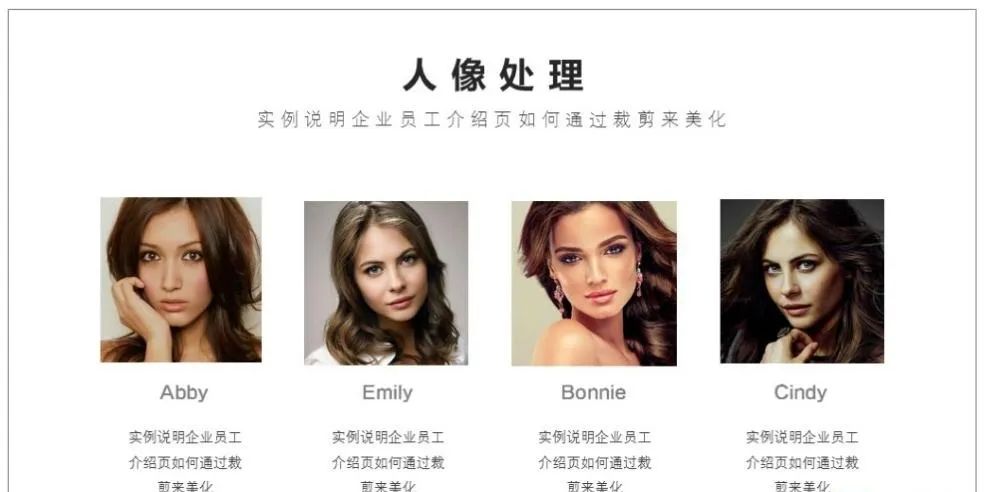
The method is still to choose an image with a relatively small cropping space first, and use it as a standard. For example, select the first image on the left as the standard, now select the third image, select the format, and click the crop tool. Since the size of the image is the same, there is no need to adjust the border of the crop, just drag the image to change the cropped area.
When dragging an image, hold down the Shift key to drag, otherwise the image will be distorted. When we zoom in on the image to the right size, we move the face inside the cropped border. If there is still some deviation in the size, adjust it again. Finally, use the height of the first person’s eye on the left as the horizontal reference line, and keep the eyes of the two people on the same horizontal line, so that it will look more uniform.
The other two people do the same, so I won’t show it here.
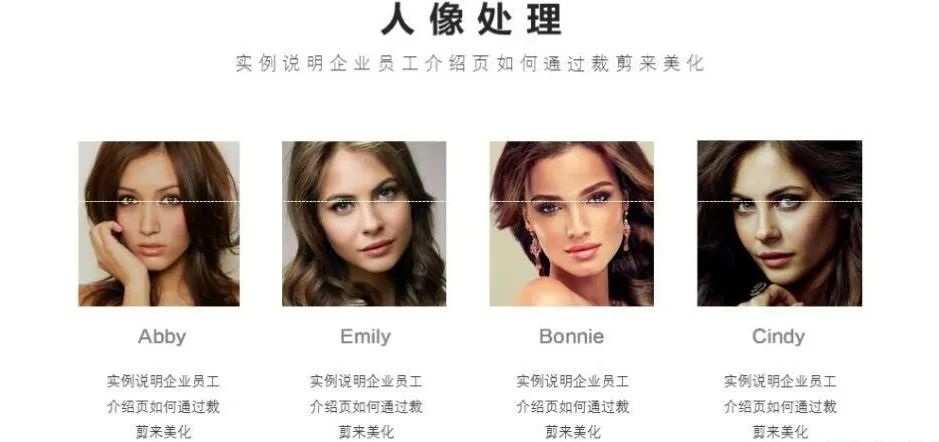
Compared to the previous image, does the adjusted page feel more uniform, and their eyes are all on the same horizontal line.
Please indicate:Free Editor Online Photoshop » 12 Ways to Photoshop Picture Processing Online


 Gender Double Label Revealed 9 Illustrations Reveal the Invisible Rules Around Us!
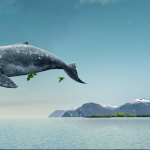

Login to comment! If you already have an account, please first log in,No please registered or