

the main idea of making this kind of liquid effect is usually to use the existing materials to synthesize. The idea of this article is to make the liquid effect under the skirt through the spray brush, which is not difficult
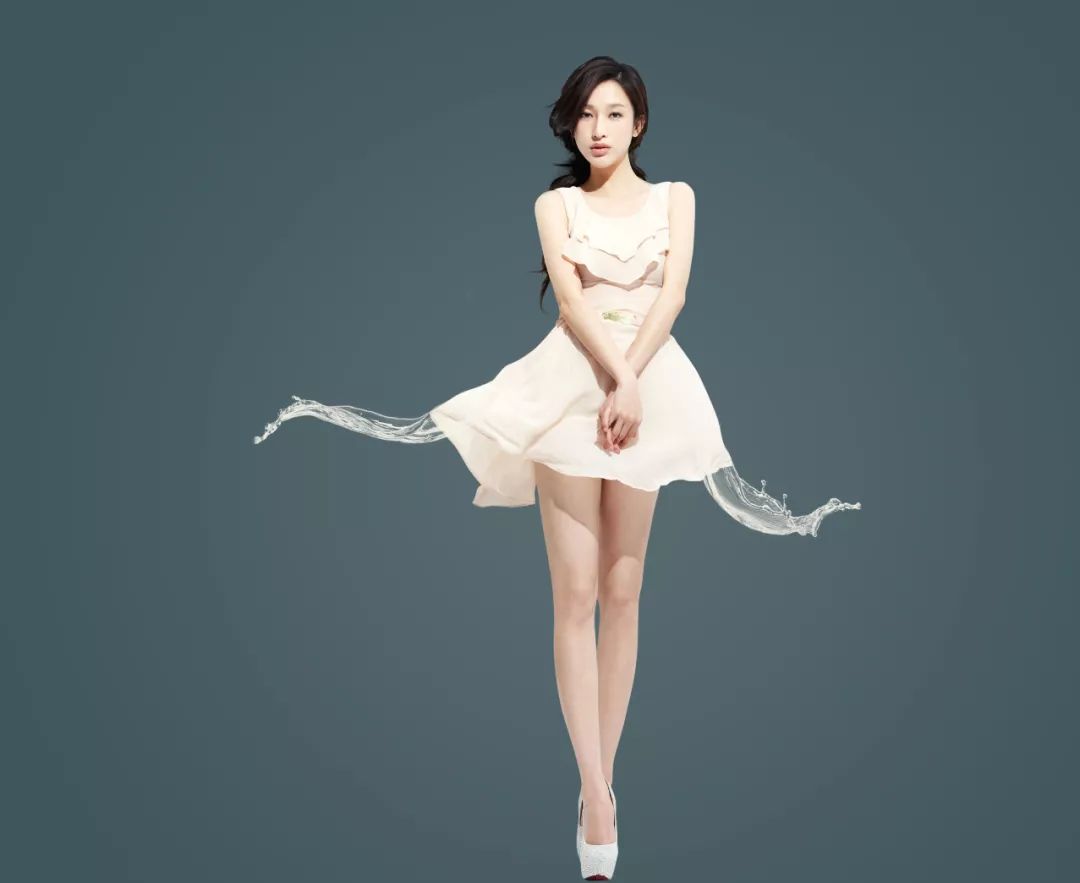
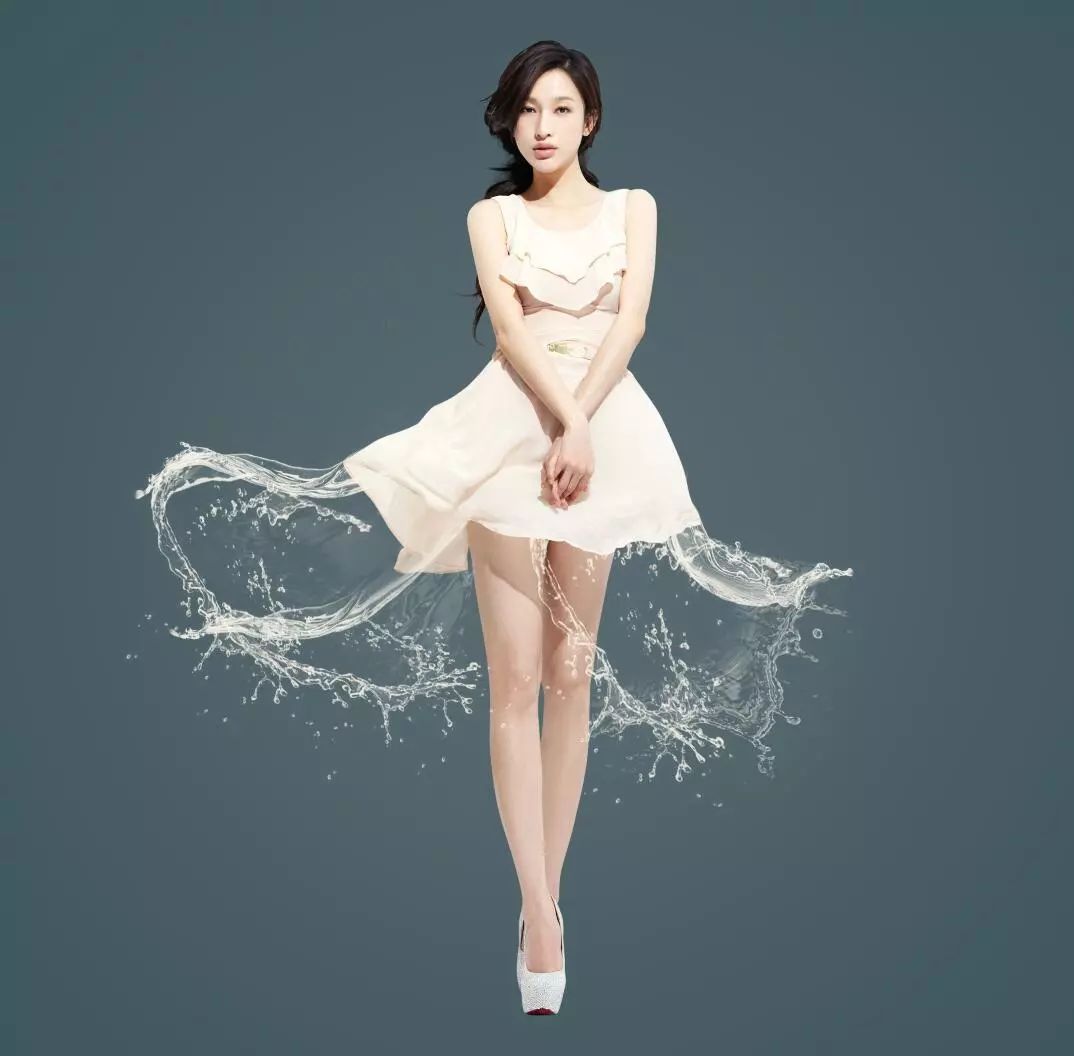
let’s see the final effect first:
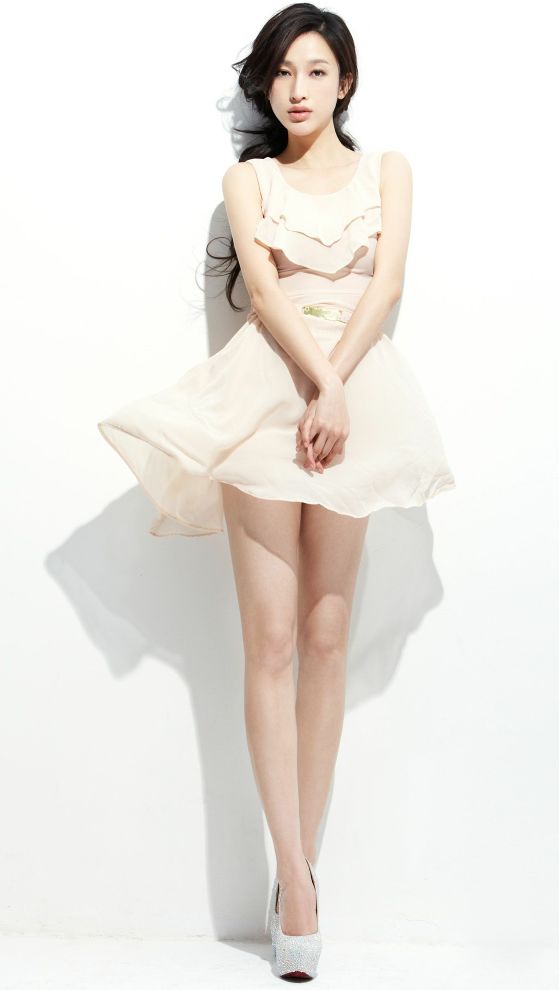
this is the exercise material:
now let’s start to explain the detailed steps. Remember to open the PS to practice together
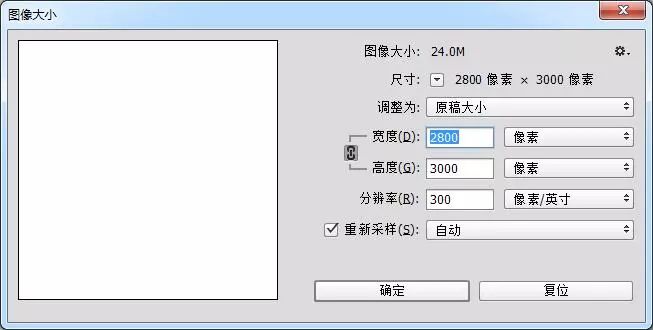
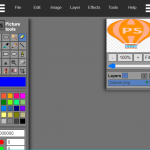
I. create a new scene, as shown in the figure
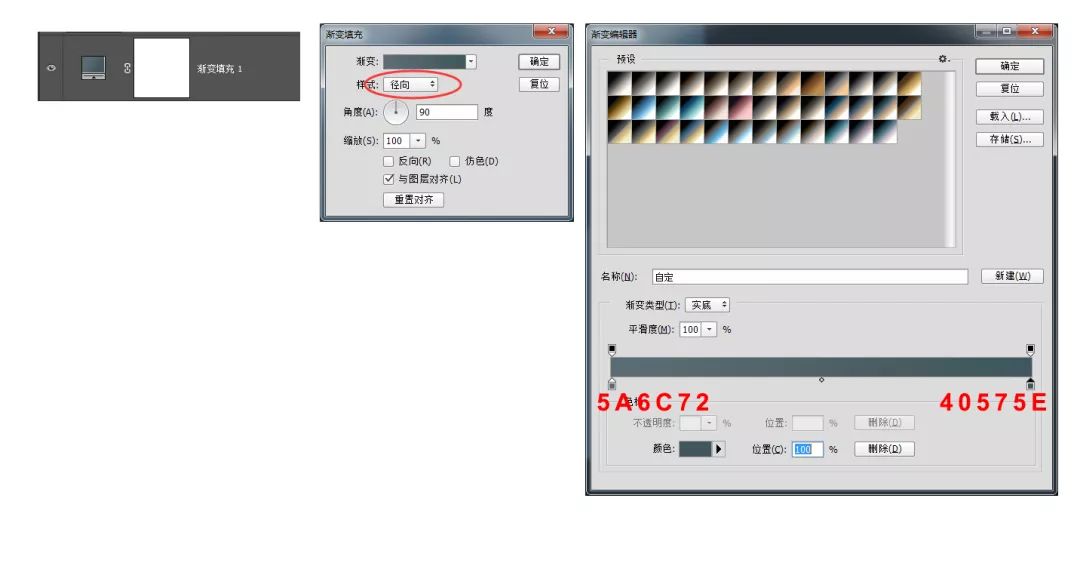
II. Add a gradient adjustment layer. The parameters are as shown in the figure. The background is complete.

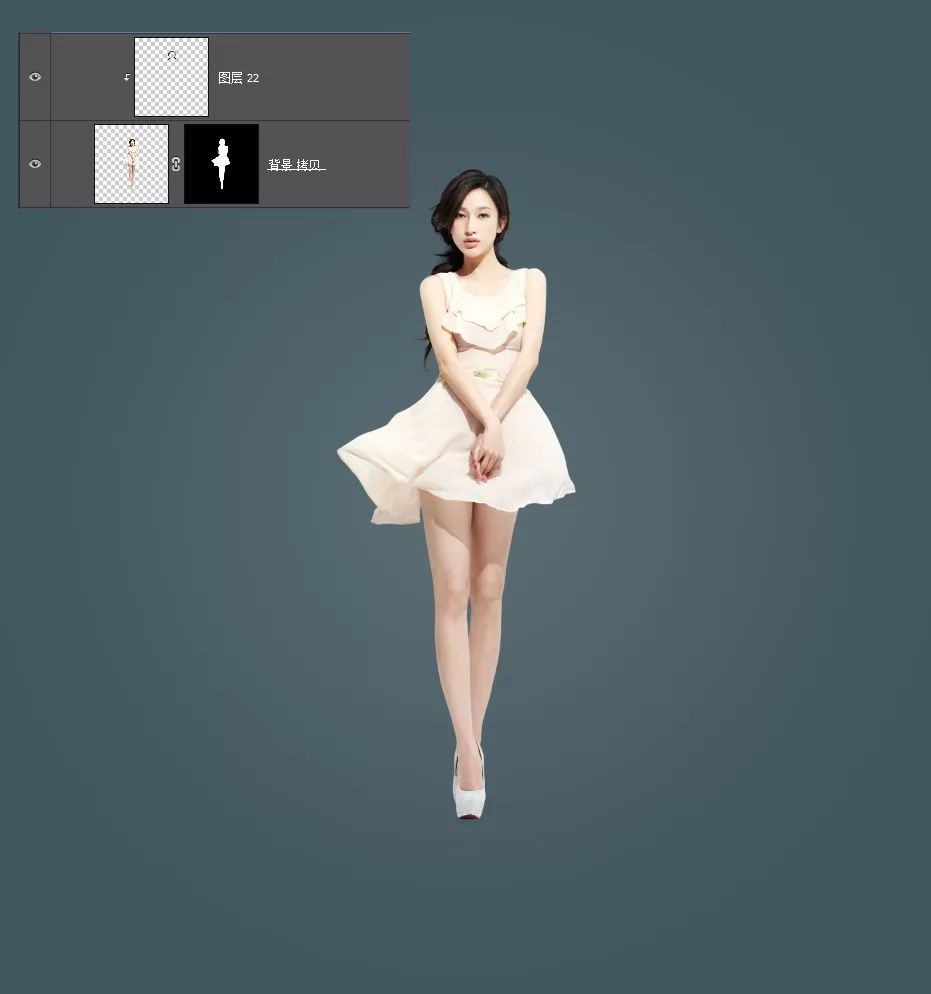
III. drag the picked model into the scene and adjust the position.
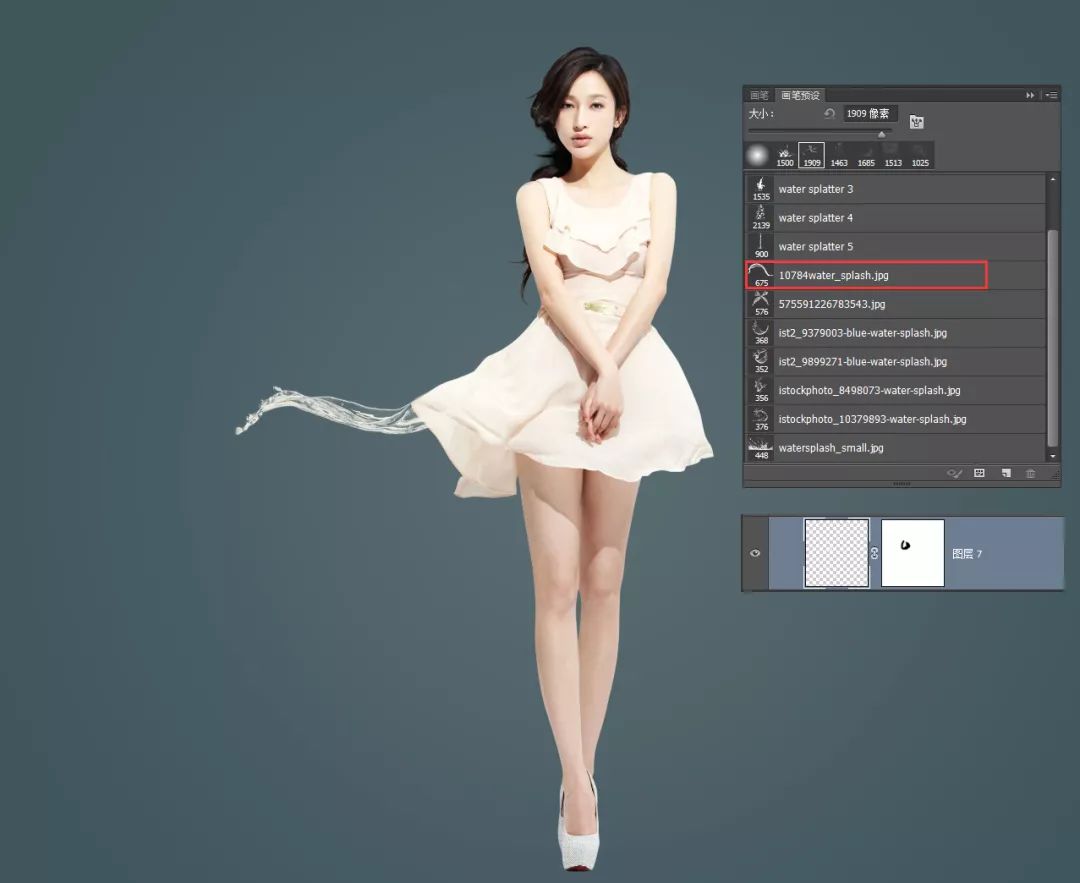
4. Now we start to enter the key step. Load the water splash brush. First, use the 10784 brush to pick up the color of the skirt and adjust the position and size according to the trend of the skirt.
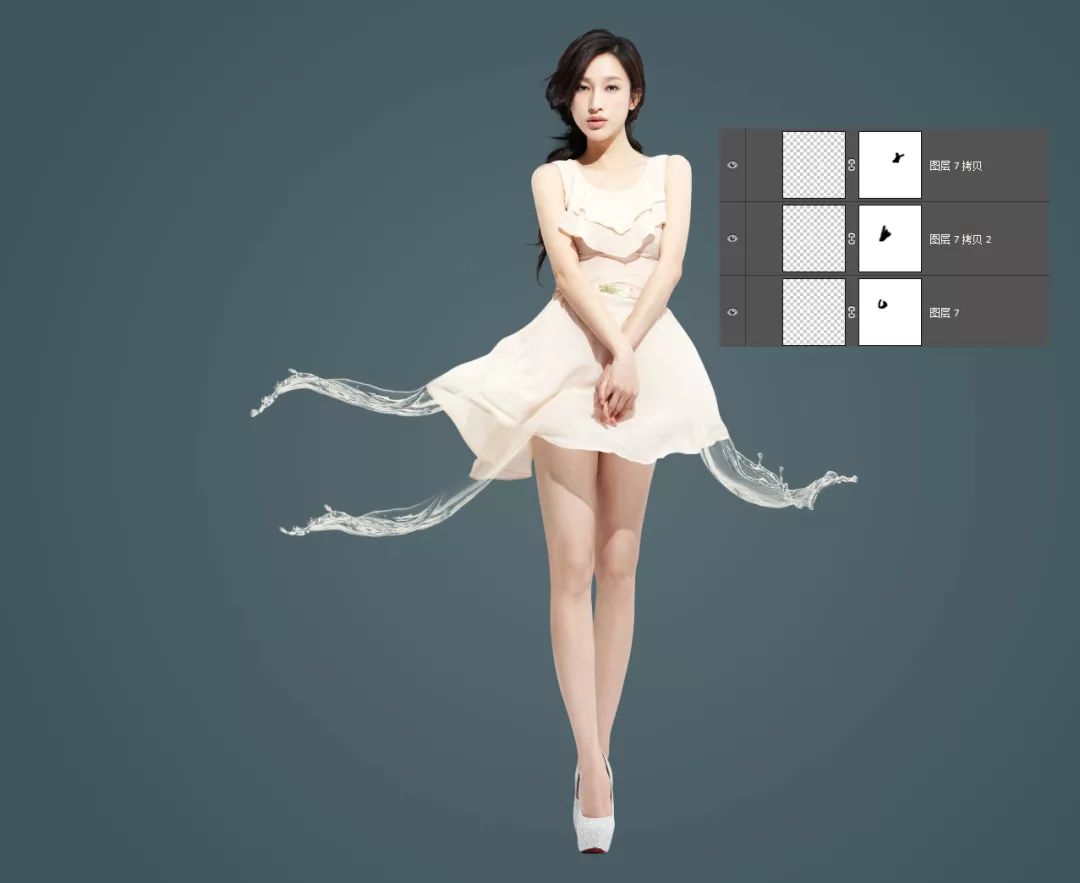
you can use a mask or directly use an eraser to erase the excess parts to get the effect as shown in the figure.
v. deal with the right skirt again. Create a new layer and use the same brush to adjust the shape and size You can fine tune the spray as shown in the figure to better describe the shape of the skirt

sixth, add other folds.
VII. Use 10379893 brush to add skirt edge.

VIII. Load Abstract_ water_ by_ Lileya brush, used to achieve water ripple effect (erase unnecessary parts)
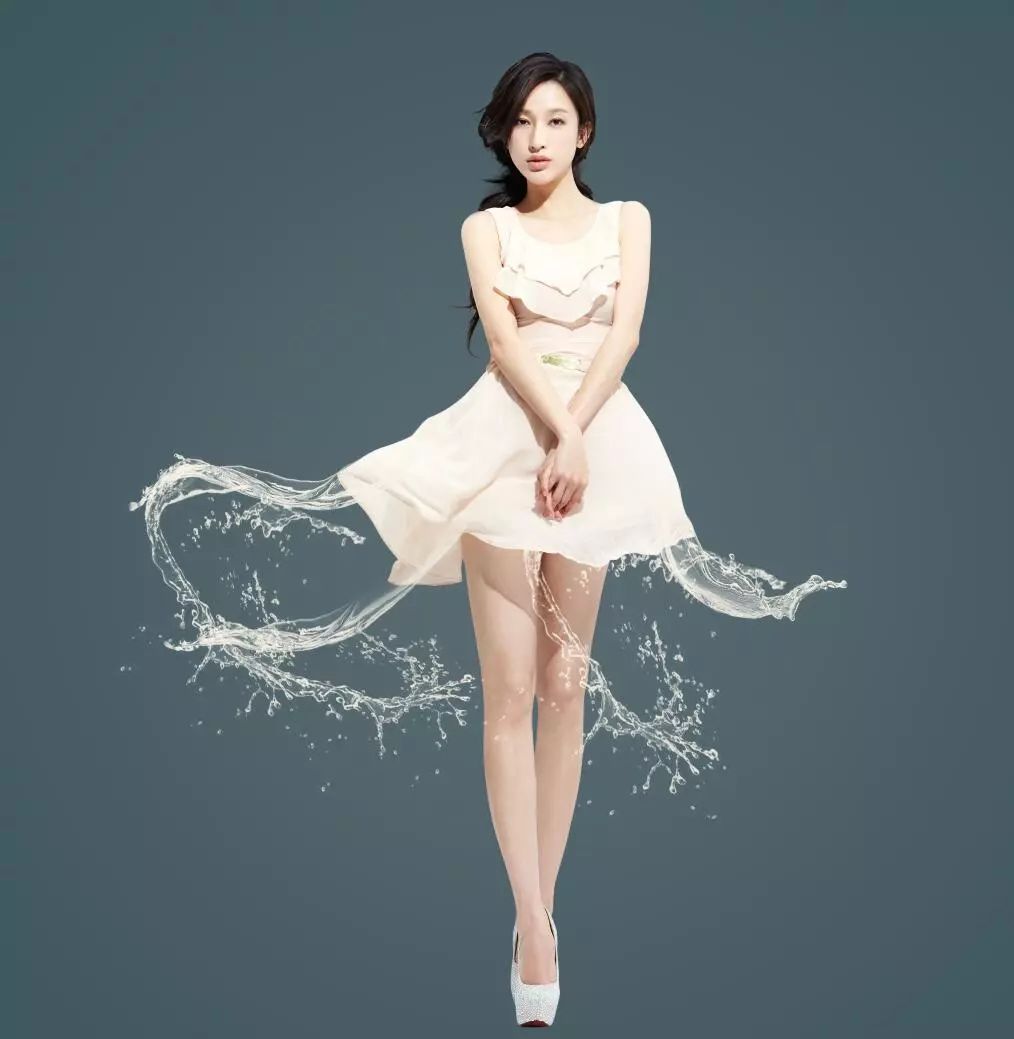
IX. load the splashes brush again and add various spray effects. You can handle it flexibly and complete the whole effect. <
Please indicate:Free Editor Online Photoshop » Photoshop Tutorial – How to Make a Liquid Skirt


 Gender Double Label Revealed 9 Illustrations Reveal the Invisible Rules Around Us!

Login to comment! If you already have an account, please first log in,No please registered or