

Make collages
Today, we’ll learn how to make collages using the insert embedded smart object command</ p>
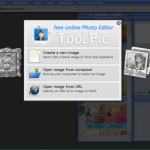
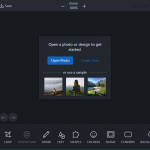
1. First, we open Photoshop. Here, we first need to open a material used as the background. In this interface, we can directly click the open button, or execute the file and open command, or use the shortcut key Ctrl + O. next, find the material 1 in our material file folder and click open, as shown in the figure:
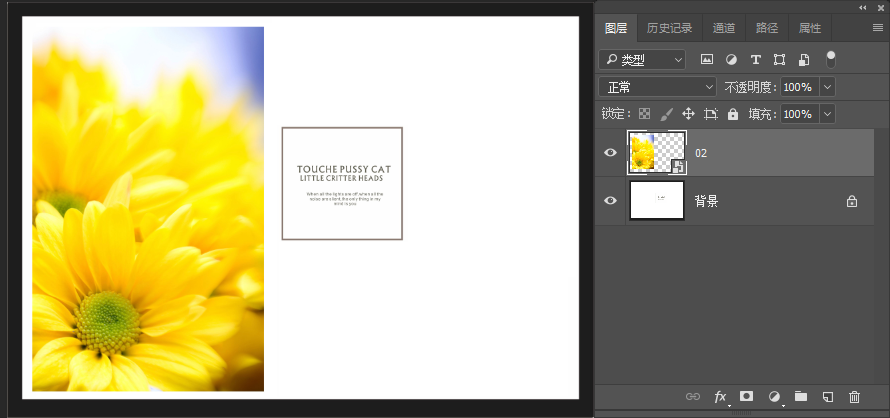
2. Now we can see that this material is opened in Photoshop, so next we need to put some materials. First, we execute the file and click the command of placing embedded object. Then, select material 2 in the pop-up window and click placing, as shown in the figure:

3. Now we can see that this material has appeared in our document, but this position is not suitable. We need to press and hold the left mouse button on the material and drag to the left. After dragging to the appropriate position, we can release the mouse, press enter on the keyboard, or click such a small check button in the option bar to submit our placement operation, as shown in the figure:
4. After the placed material is completed, we will find that the material has appeared on our layer panel, but the placed layer is an intelligent layer, and some operations of the intelligent layer cannot be edited. Therefore, we have to carry out such operations after placing the material (most of them), that is, right-click the layer and execute the rasterization Layer command, Then only after this operation can our intelligent object become an ordinary object for editing, such as deleting parts or drawing above this layer. In the same way, we continue to execute the file, insert the embedded object command, and insert other materials in turn, as shown in the figure:

5. Continue to insert material:

6. Of course, there are some simpler methods. We can open the material folder near Photoshop, and then directly press and hold the left mouse button to drag the material file to our current interface, or we can complete the placement, as shown in the figure:

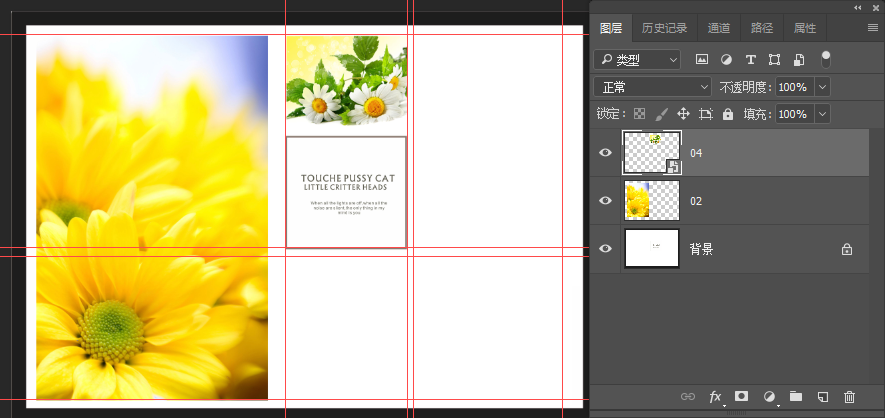
7. Now we can see that there are already three layers that are not rasterized after they are put in. We can select one layer together, select another layer in the layers panel, press and hold Ctrl and click other layers, select multiple layers at the same time, and then right-click to execute the rasterized Layer command to quickly change the selected layers into ordinary layers, As shown in the figure (the red line on the screen is the reference line of the ruler. Ctrl + R can call up the ruler, and then use the mobile tool to drag the ruler reference line from the ruler to facilitate us to align the picture):
8. Then, the final effect of making collages by using the command of inserting embedded smart objects is shown in the figure:
Please indicate:Free Editor Online Photoshop » Photoshop Tutorial: making collages


 Gender Double Label Revealed 9 Illustrations Reveal the Invisible Rules Around Us!

Login to comment! If you already have an account, please first log in,No please registered or